How to Draw an Autumn Leaf With Coloured Pencils
How to Draw an Autumn Leaf With Coloured Pencils
A single autumn leaf makes an excellent coloured-pencil subject. It has a clear overall shape, rich colour changes and enough texture to reward close observation, but it is still small enough to complete as a focused study.
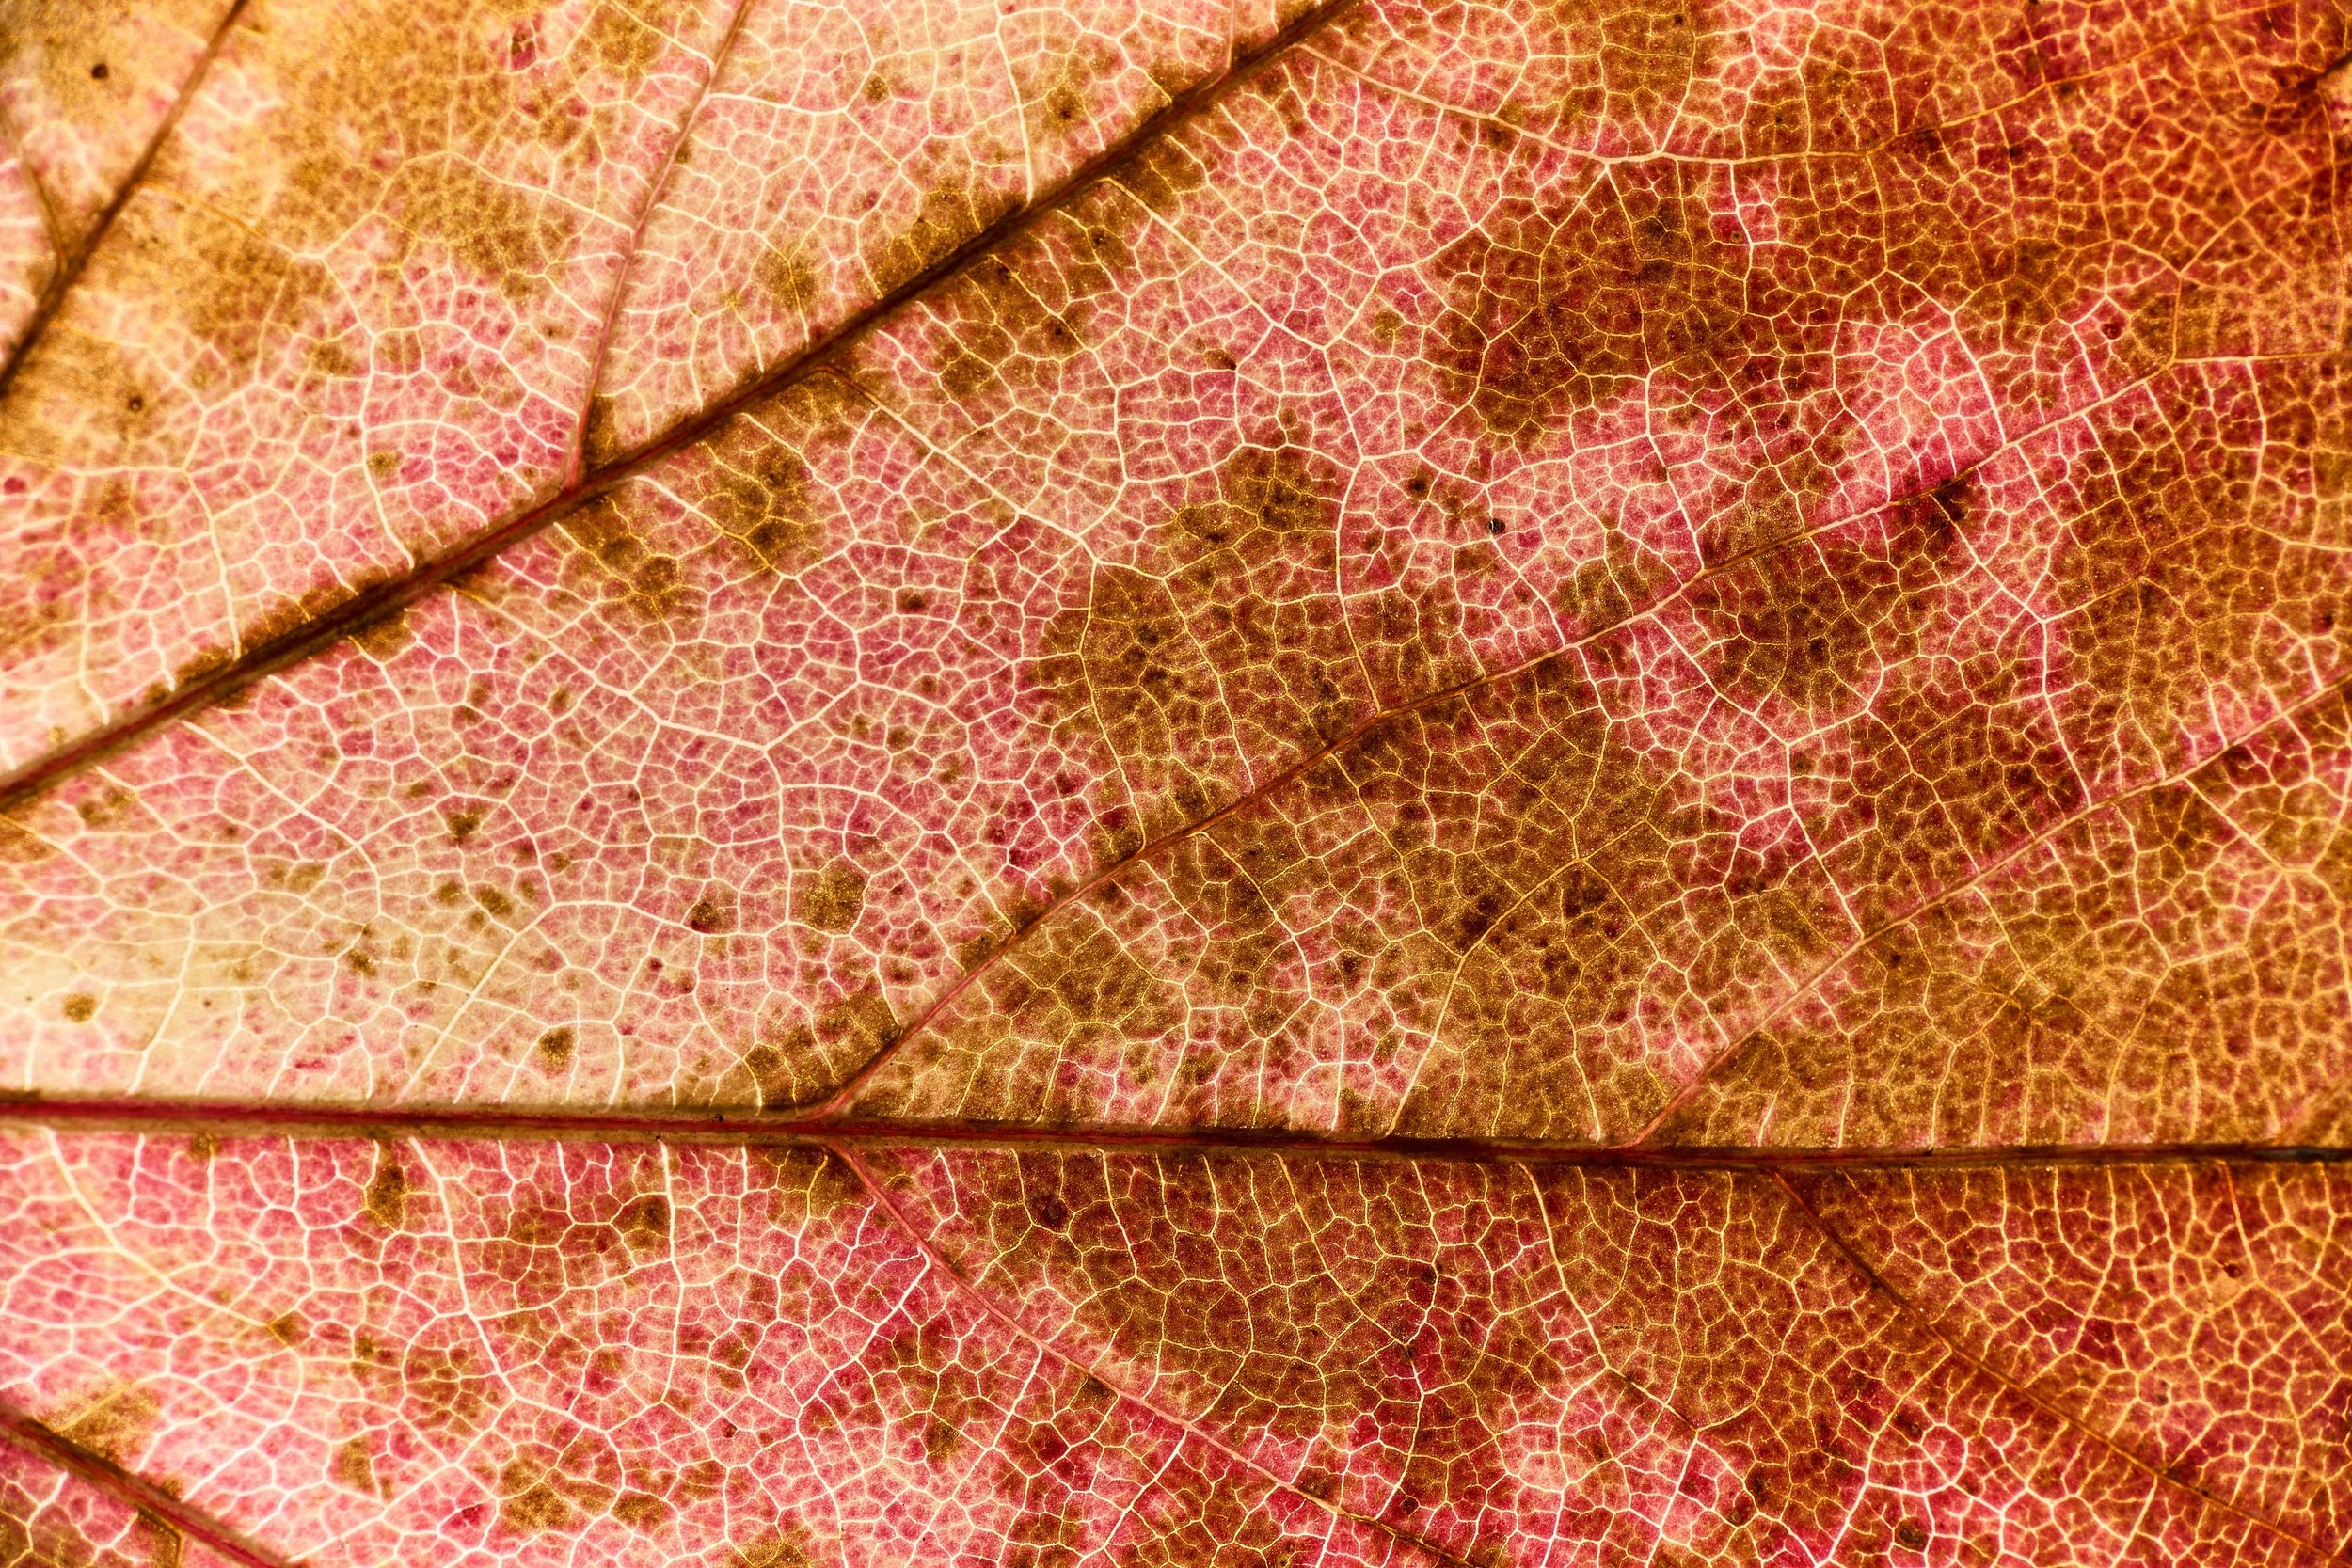
The aim is not to invent a perfect red or orange leaf. Real leaves are uneven. They carry spots, tears, faded areas and colours that move gradually from one part to another. Those irregularities are what make the drawing believable.
Choose one leaf and keep it simple
Pick a leaf with a shape you can read clearly and two or three main colour families. A leaf that moves from yellow to orange with a little brown is easier for a first study than one covered in tiny spots and severe curls.
Draw from the real leaf if possible. Place it on plain white or grey paper beside you and use one steady light source. If the leaf starts to curl as it dries, take a clear photograph at the beginning so you can choose whether to follow its first position or the later shape.
Select a small pencil palette
You do not need every autumn colour in the tin. Begin with a pale yellow, a warm yellow or ochre, orange, red, one dark brown and a muted green if it appears in your subject. Add a cool grey or dark sepia for the shadow.
Test combinations on scrap paper. Layering yellow under red gives a different result from placing red directly on white. A touch of green or brown can calm an orange that looks too bright. These small trials prevent you searching for colour on the final drawing.
Measure the outside shape
Lightly mark the leaf’s height, width and direction of the central vein. Compare where the widest point sits and notice whether the two sides are genuinely symmetrical. They usually are not.
Use short, light lines to find the main lobes or changes in the edge. Avoid drawing every tiny serration immediately. If the large shape is wrong, detailed edges will only make the error harder to change.
Place the midrib and main veins
The central vein gives the leaf its structure. Draw it lightly from the stem towards the tip, checking whether it curves. Add only the main side veins at first and observe the angles at which they leave the centre.
Do not press dark lines into the paper. Veins often appear because one side is slightly lighter or darker, not because they have a black outline. A sharp pale pencil, an indented line used carefully, or controlled colour changes can all suggest them later.
Map the colour patches before shading
Look at the leaf as a map. Where is the lightest yellow? Where does orange begin? Are the red areas gathered along an edge, around the veins or in isolated patches? Lightly indicate these boundaries without enclosing them in hard outlines.
Start with the palest local colour across each area. Use gentle pressure and follow the direction of the leaf surface, usually moving out from the central vein. Leave the brightest flecks as clean paper or a very pale layer.
Build colour in transparent layers
Coloured pencil becomes richer through repeated light layers. Add the next warm colour gradually and overlap it with the first so the transition does not look striped. Turn the pencil often to keep a usable point and vary the stroke length to avoid a mechanical texture.
If an orange area needs depth, add a little red and brown rather than pressing harder with the orange pencil. Heavy pressure too early fills the paper tooth and makes later adjustment difficult. Save firmer blending for the final stages.
Show the leaf’s planes
Even a fairly flat leaf has changes in plane. One side of the central vein may face the light while the other turns away. A lobe may curl upwards and reveal a paler underside. These shifts give the drawing form.
Squint at the leaf to simplify the values. Add a slightly darker neutral layer to the side turning away from the light, then restore colour over it. Near a curled edge, make the transition gradual unless the fold creates a genuinely sharp boundary.
Add veins without taking over
Return to the main veins once the colour is established. Some may be pale, some reddish and some dark near the stem. Draw broken sections rather than one continuous line if that is what you see.
Side veins become thinner as they approach the edge. Reduce pressure and allow many of them to disappear. If every vein is equally strong, the leaf will look diagrammatic rather than natural.
Include spots, tears and dry edges selectively
Autumn leaves often contain brown marks, pinholes and worn edges. Choose the features that make your leaf recognisable, but place them only after the main colour and form work.
Build a brown spot with more than one tone. It may have a dark edge, a warm centre and a soft transition into the surrounding colour. For a torn edge, draw the actual interruption in the contour rather than adding a generic jagged line.
Ground it with a cast shadow
A light cast shadow helps the leaf sit on the page. Observe where it touches the surface and where an edge lifts away. The shadow is darkest and sharpest close to contact, then softer as the distance increases.
Use grey, sepia or a muted complement rather than pure black. Keep the shadow subordinate to the leaf. Its job is to explain position and light, not become a second subject.
Know when to stop
Stand back and compare the drawing with the leaf. Check the outside shape, the lightest and darkest areas, the colour balance and the central vein. Add only what strengthens one of those relationships.
It is easy to cover every patch with another layer because coloured pencil feels controllable. Stop while some paper and variation remain. A leaf should feel delicate, not polished into plastic.
Try a thirty-minute study
Allow five minutes for measuring, five for the main colour map, fifteen for layered colour and five for veins, edges and shadow. The time limit encourages you to choose what matters. Repeat the exercise with another leaf rather than forcing the first drawing to contain every technique.
Ready to take the next step?
If you would like relaxed guidance with watercolour, drawing or coloured pencil, I offer private art lessons for adults in Teddington and South West London, as well as online. We can work at your pace and build a process that makes painting feel enjoyable rather than intimidating.