How to Draw Glass for Beginners
How to Draw Glass Without Outlining Everything
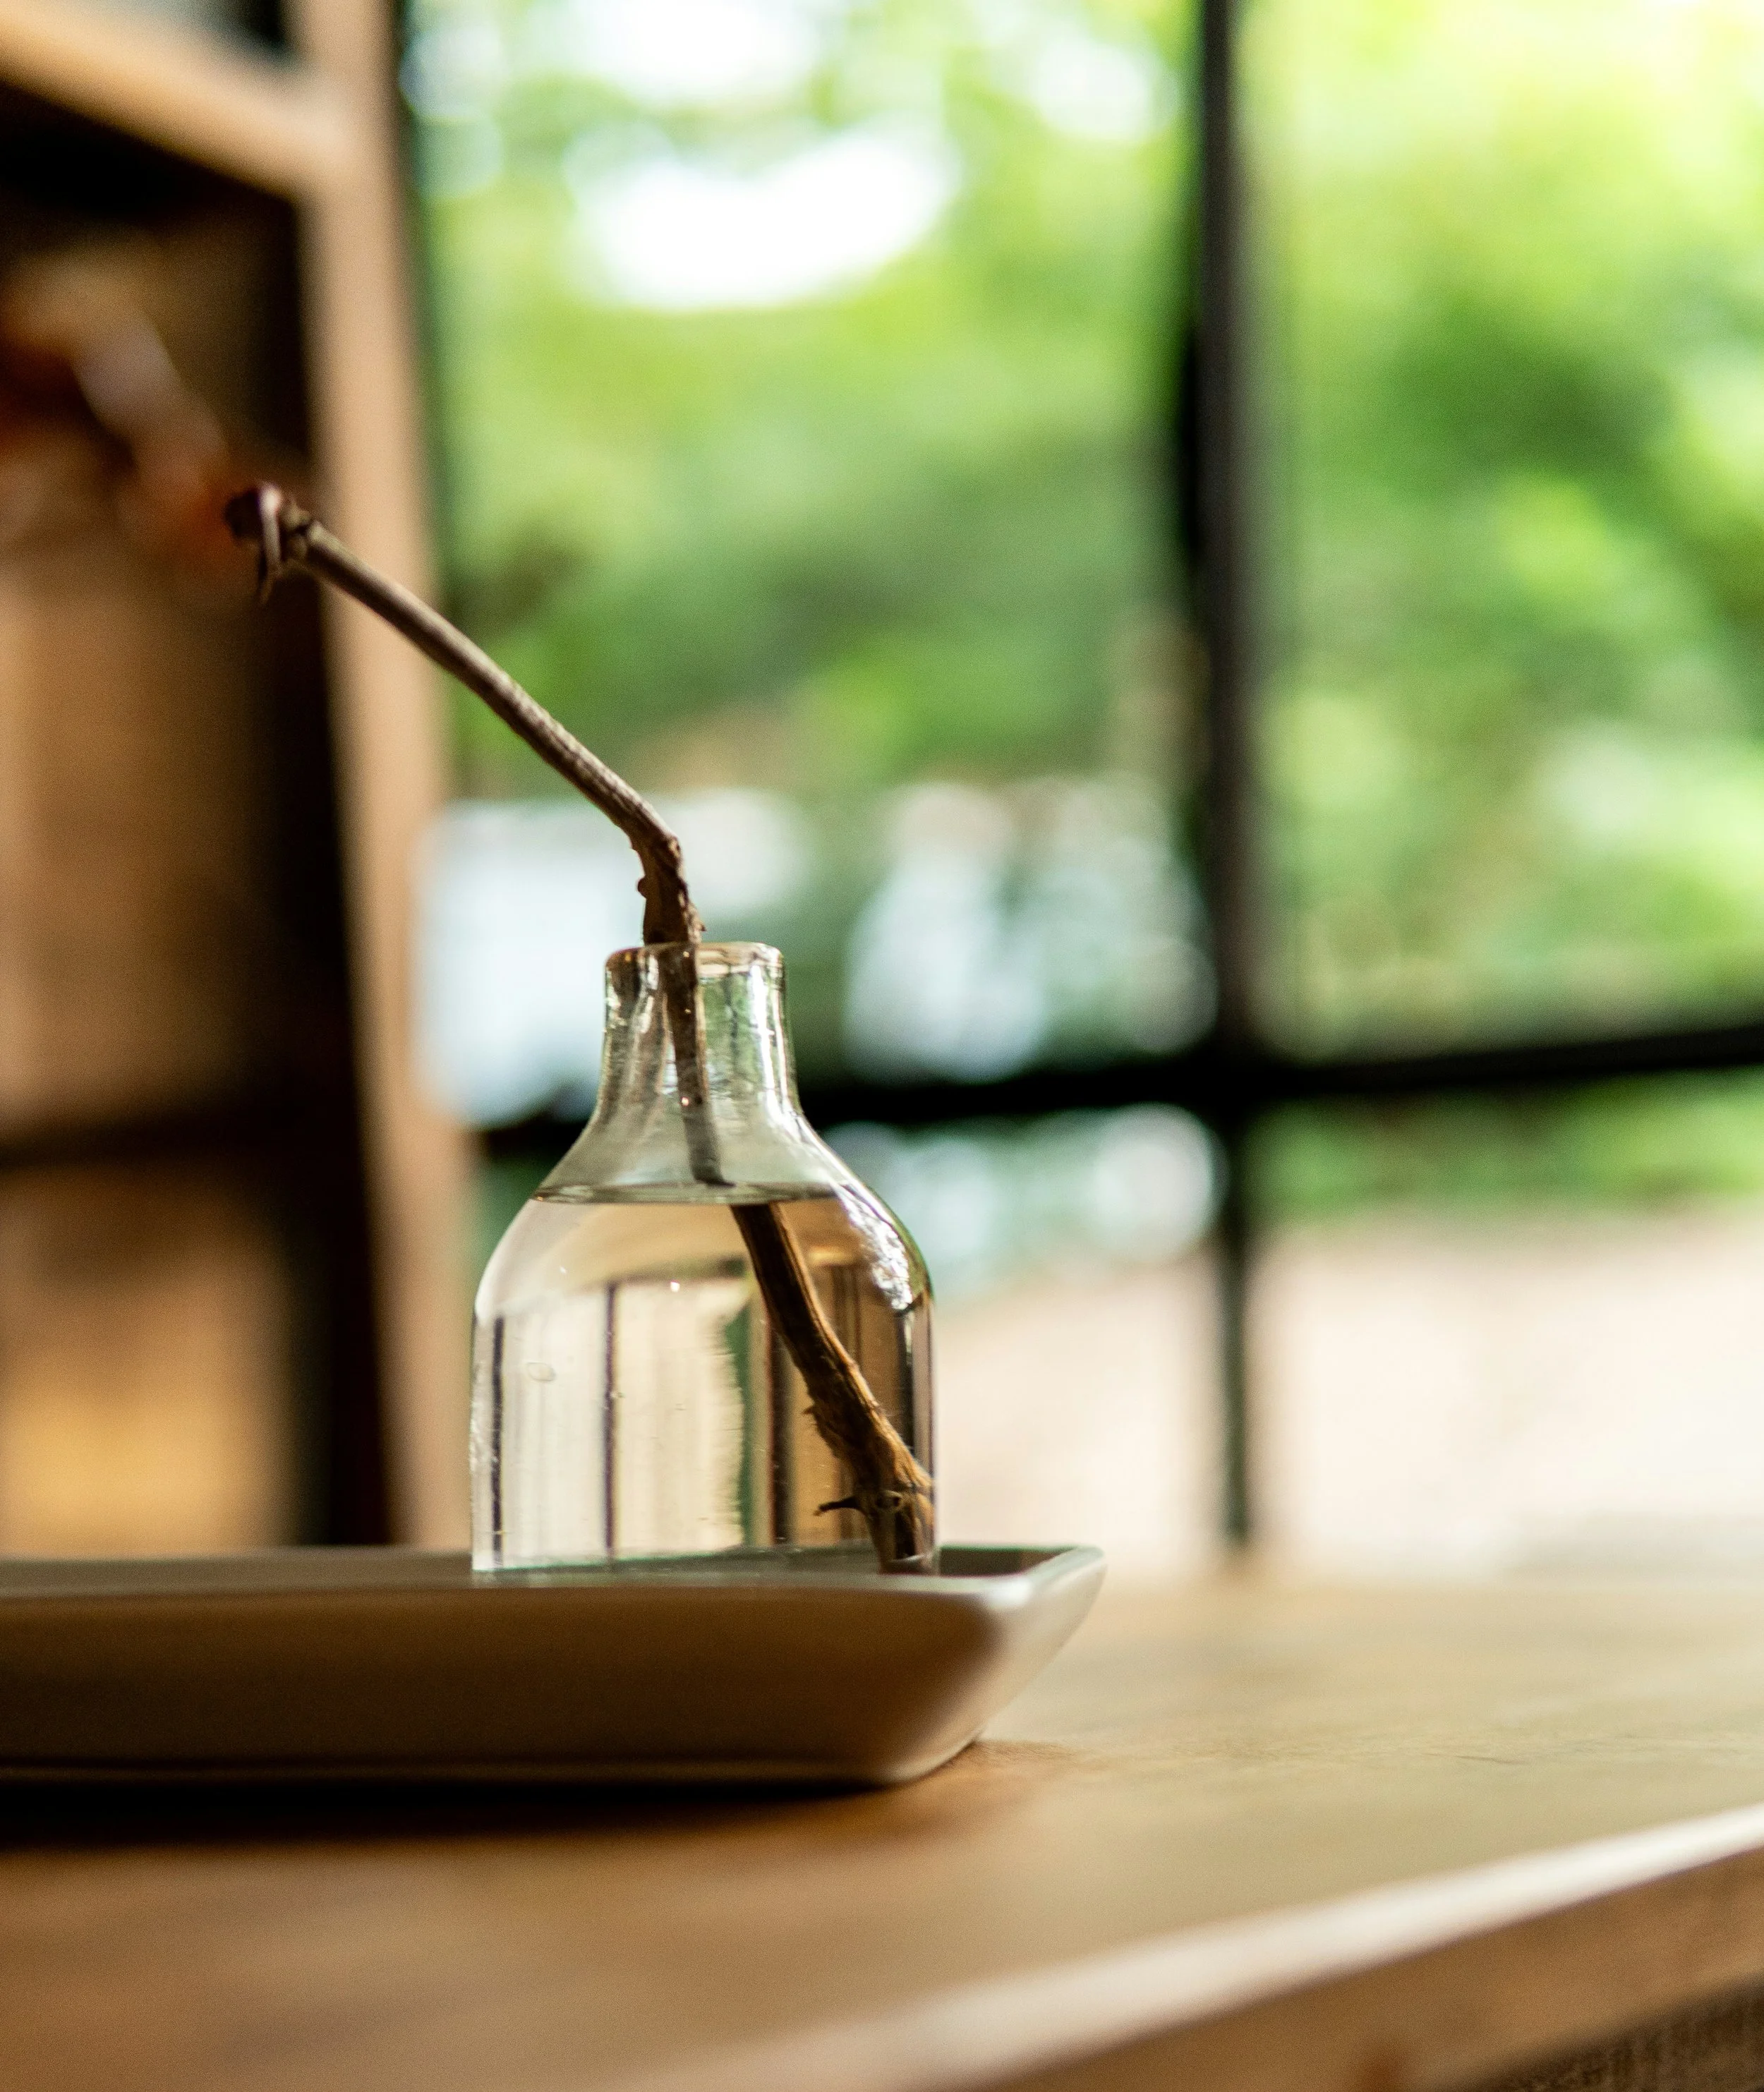
Glass can look difficult to draw because most of what you see is not the object itself. You see the background through it, reflections on its surface, a darker rim, bright highlights and shapes that bend as they pass behind the glass.
The tempting solution is to draw a firm outline around the whole object. That usually makes the glass look solid. A more convincing drawing comes from observing where an edge is genuinely visible and where it disappears into the light.
Choose one simple object
Begin with a plain drinking glass, jar or clear bottle. Avoid cut crystal, coloured glass and complicated labels for the first study. Place the object against a simple background where you can see both light and dark areas through it.
Side lighting from a window is useful because it creates clear highlights and shadows. Put the glass on white paper or a neutral table, then place a darker sheet of card behind part of it if the edges are difficult to see.
Build the shape with a centre line
Most bottles and drinking glasses are symmetrical. Lightly draw a vertical centre line, then mark the top, bottom and widest points. Compare the left and right sides against that line rather than finishing one side and trying to copy it afterwards.
Keep these construction marks light. They are a framework, not part of the final drawing. Check the height against the width before adding reflections or tone.
Pay attention to the ellipses
The mouth, base and water line of a glass appear as ellipses. Beginners often draw them as pointed shapes or make the front and back curves unrelated. Imagine each ellipse continuing behind the object even if part of it is hidden.
The ellipse becomes flatter when it is nearer your eye level and more open when you look down on it. Draw through the whole shape lightly, then strengthen only the visible sections. This helps the rim feel level and gives the object a stable base.
Draw what you see through the glass
Place a pencil, spoon or simple piece of card behind the object. Notice how its edge shifts, thickens or changes direction when viewed through the glass. Copy the distorted shape you can see rather than the shape you know is behind it.
This is an excellent observation exercise. It stops the mind replacing the subject with a symbol and makes you look carefully at each change in direction. You do not need to understand the physics of refraction to draw the visible result.
Find the darkest darks first
Glass is often described by a few strong dark accents: the base, one side of the rim, a reflected shape or the shadow beneath it. Squint at the object and identify the three or four darkest areas.
Place those shapes lightly before filling the page with mid-tones. They give the drawing structure and help you judge how pale the rest should remain. If every edge becomes equally dark, the object will feel outlined and heavy.
Preserve the paper for highlights
Bright reflections are usually best created by leaving the paper untouched. Look for narrow vertical strips, small curved highlights and flashes along the rim. Map them early so you do not shade over them by accident.
If you lose a highlight, a clean eraser can lift some graphite, but it is easier to protect the white area from the beginning. The contrast between a crisp highlight and a nearby dark reflection is what often makes the surface look shiny.
Use broken edges
Trace the outer edge with your eyes. You may find a dark section near the base, a pale section that almost disappears, and another edge revealed by the background. Draw those changes rather than one continuous contour.
An edge can also be suggested by the tone beside it. If the background is darker than the glass, you may need little or no pencil line at all. Allowing an edge to vanish is not leaving the drawing unfinished; it is describing how light behaves.
Include the cast shadow
The shadow beneath a glass helps it sit on the surface. It may contain hard and soft edges, reflected light and a bright area caused by light passing through the object. Observe its real shape instead of drawing a generic grey oval.
Start with a light layer and build the darkest part where the glass touches the table. Soften the shadow as it moves away unless your reference shows a sharp edge. The cast shadow can make a simple study feel much more convincing.
Work from large shapes to small marks
Reflections contain tempting detail. Before adding it, check the overall proportions, ellipses, darkest shapes and main highlights. Small marks will not rescue a bottle with a tilted centre line or uneven sides.
Once the structure works, add only the reflections that help explain the form. A few carefully observed shapes are more useful than copying every tiny change in the surface.
Try a short glass study
Set a clear jar against a background divided between light and dark. Spend five minutes measuring the shape and ellipses, ten minutes mapping dark reflections and another ten developing the shadow and selected mid-tones. Stop before the paper becomes covered.
Then compare the drawing with the object. Look particularly at the rim, the width of the base and the places where the edge disappears. Repeat the study another day with a different background. The changes will teach you how much the surroundings affect what glass looks like.
Drawing glass is really an exercise in patient observation. If you would like help with transparent objects, tone or observational drawing, I offer calm, structured art lessons for adults in Teddington and surrounding areas, as well as online.
Ready to take the next step?
If you would like relaxed guidance with watercolour, drawing or coloured pencil, I offer private art lessons for adults in Teddington and South West London, as well as online. We can work at your pace and build a process that makes painting feel enjoyable rather than intimidating.