How to Make a Simple Line Drawing Feel More Finished
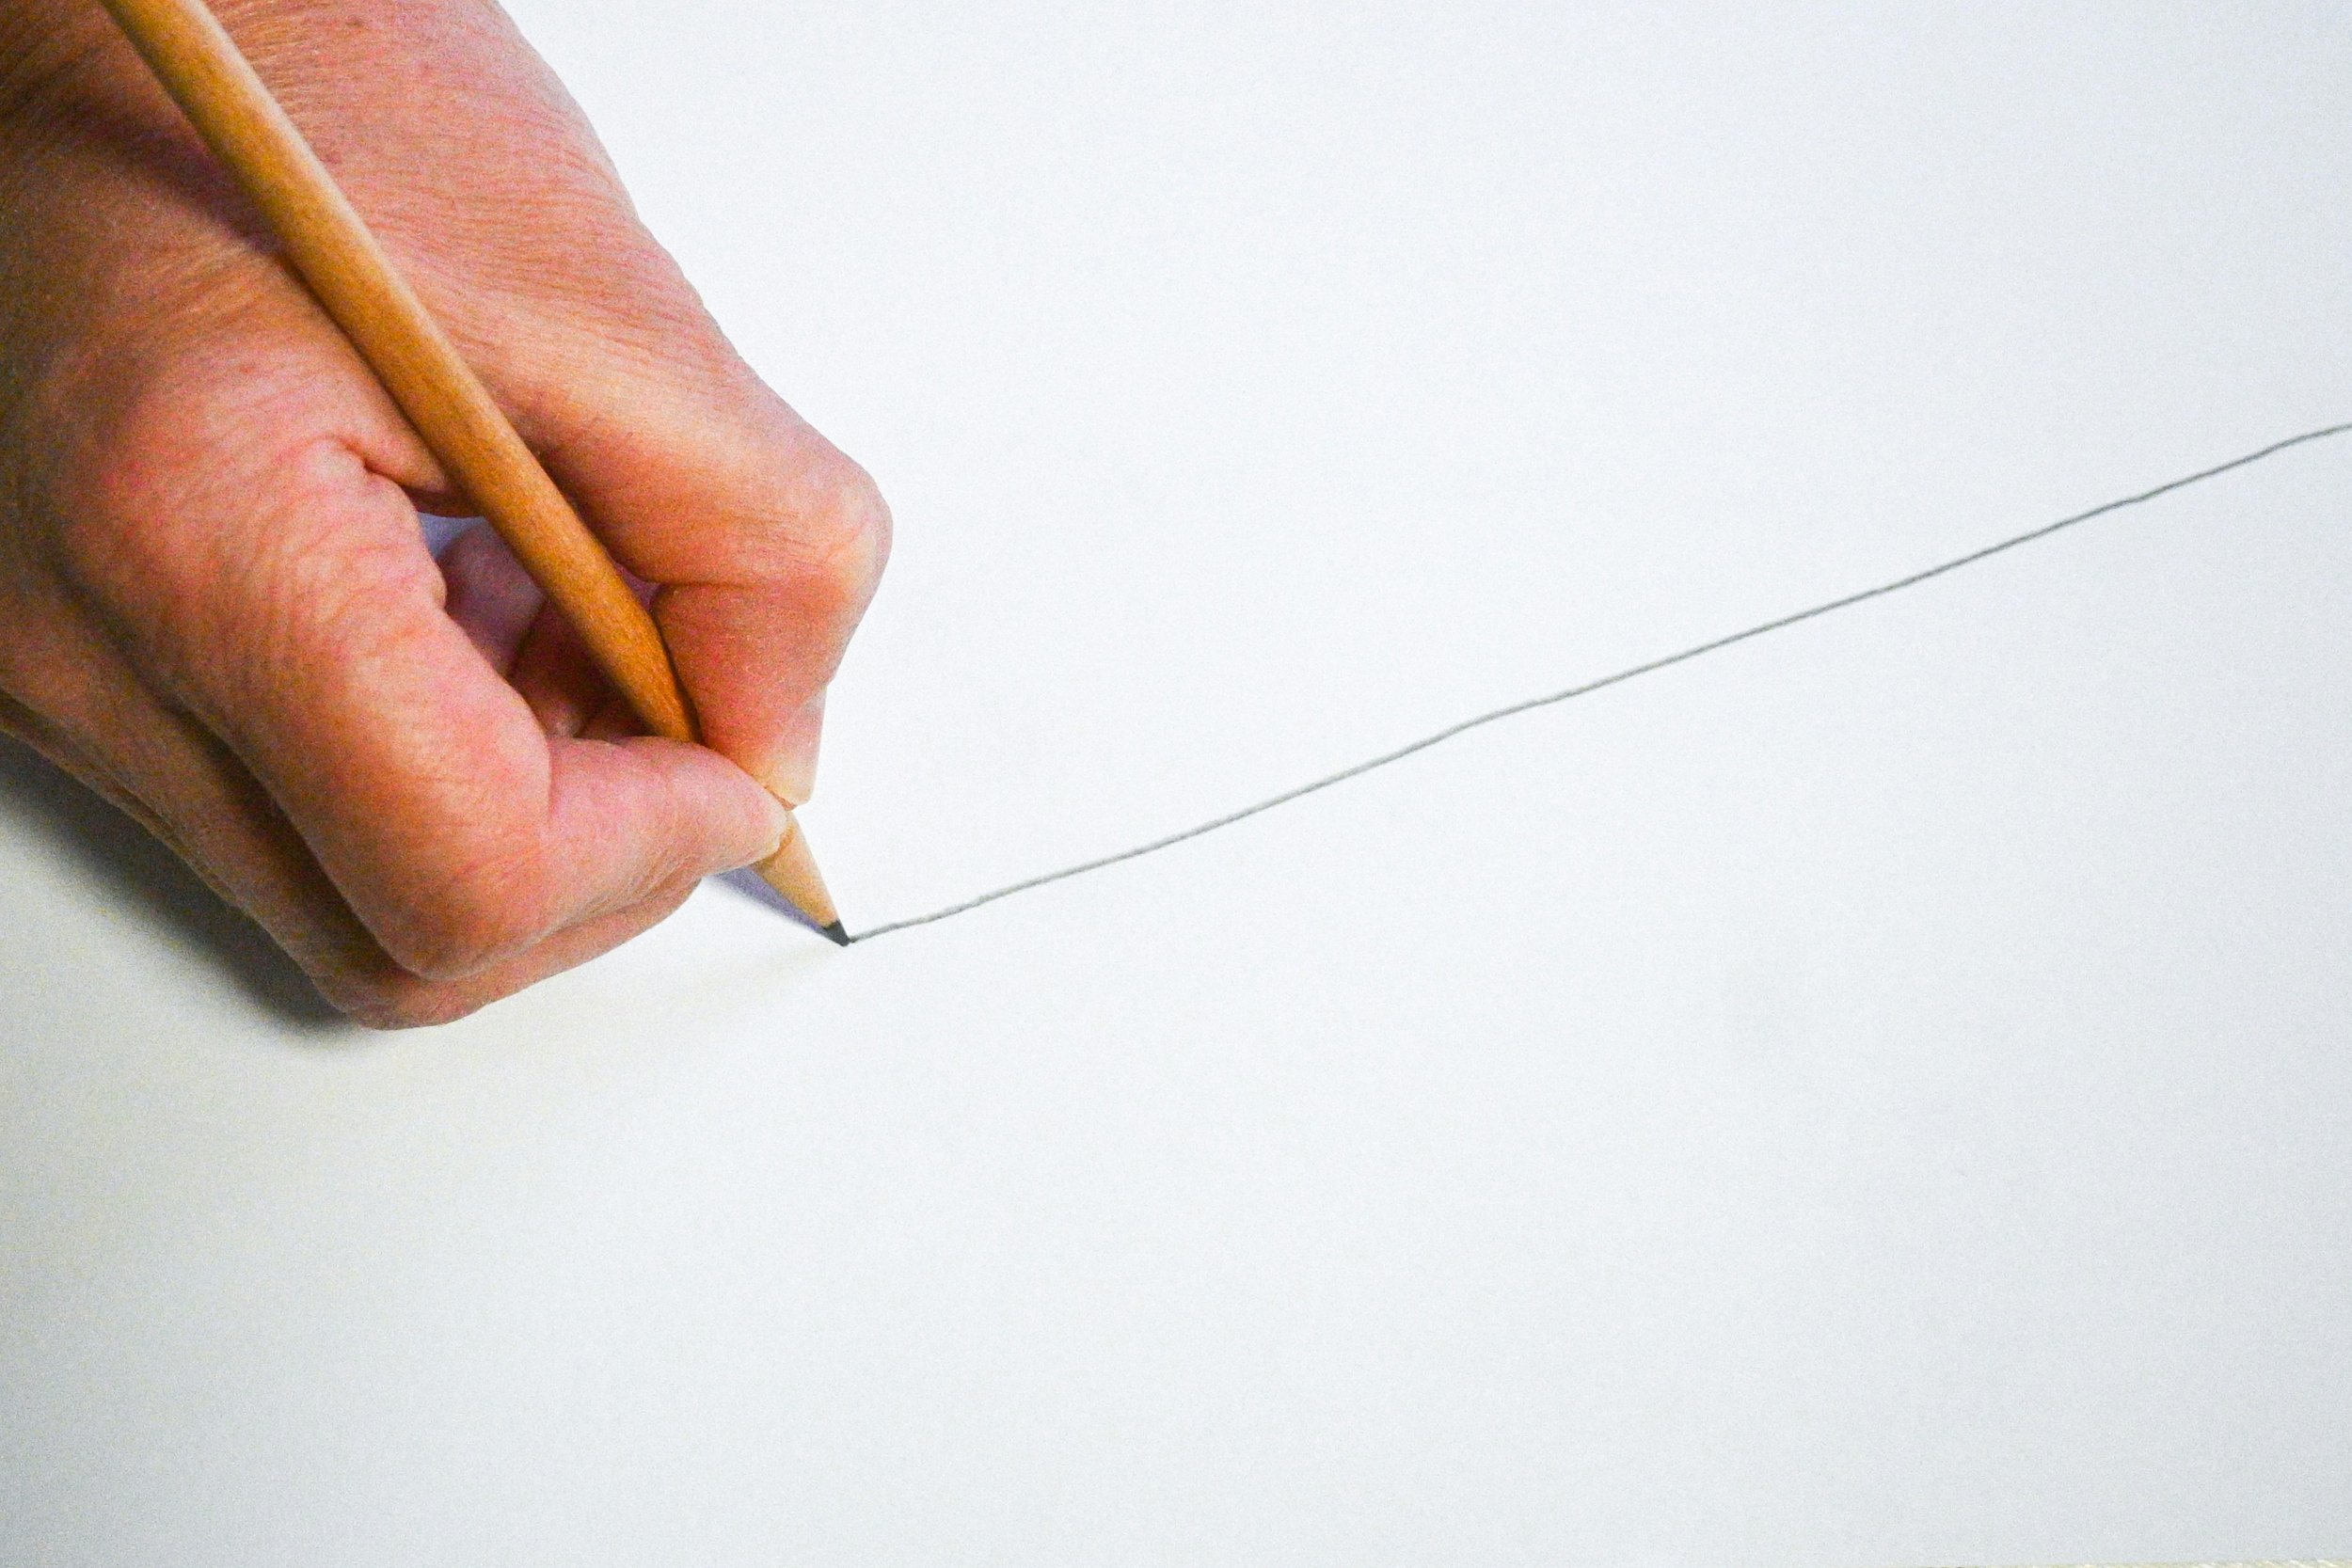
The point where a drawing starts to feel uncertain
There is a familiar point in a drawing where the main shapes are in place and, rather than feeling pleased, you start wondering what to do next. The outline is recognisable but the page feels a little bare. That is often when people begin adding detail everywhere: more bricks, more leaves, more texture, more marks. Sometimes that works. More often, it makes a simple drawing look busy without making it feel more complete. A finished drawing is not one that contains every piece of information. It is one in which the important information has been made clear. I find it helpful to pause before adding anything and ask: where do I want the eye to rest? What could stay quiet?
Choose one part to lead the eye
Give your drawing a main point of attention. In a building it may be the front door or a window catching the light. In a flower it could be the centre. In a pet study it might be the eye or the shape of one ear. You do not need to darken everything around it. Simply make the chosen area a little more deliberate: a slightly stronger contour, a small area of tone or one well-observed detail. This gives the viewer somewhere to arrive. The rest of the drawing can support that choice. It is a useful discipline for beginners because it replaces the vague instruction to “add more detail” with a much clearer question: which detail matters most?
Vary your line rather than reaching for a new tool
One pencil or pen can do far more than we sometimes allow it to. Try letting a line become heavier where a form turns away from the light, where one object overlaps another or where you want to bring the subject forward. Keep lines lighter on the lit side or in the distance. These small variations create depth without requiring lots of shading. Hold the pencil a little differently too. A sharp point can describe an edge; the side of the pencil can suggest a soft shadow. With ink, a second pass does not have to trace the original line exactly. Let it sit beside it in a few chosen places, almost like a quiet echo. It is enough to suggest weight and confidence.
Use a small value scale before you commit
Before making any mark darker, make a tiny value scale in the margin: the white of the paper, a pale grey, a middle grey and the darkest tone you intend to use. It gives you a simple reference when the drawing starts to feel muddy. Then decide which of those values the background really needs. Often it needs only the palest one, or none at all. This is particularly useful when working from a photograph because the camera can show far more texture and contrast than the drawing needs. A smaller range of tones can make the chosen darks feel stronger.
Try a second version, not a rescue operation
If you reach the point where a drawing feels overworked, do not assume it has failed. Put it aside and make a second, smaller version using the same subject. This time choose the focal point and the three darkest areas before you start. The first drawing has already done valuable work: it has shown you which proportions and details mattered. A repeat study is not cheating. It is how you begin to recognise the difference between describing a subject and editing it.
Add only the shadows that explain the form
A simple shadow under an eave, inside a cup, beneath a chin or at the base of an object can make a drawing feel grounded. Start by identifying the darkest dark rather than shading the whole page. Use a light, even layer and leave some paper showing. White paper is not empty; it can be the brightest light in the picture. One common mistake is making every shadow the same grey. Notice whether the darkest area is close to the subject, tucked into an overlap or simply a cast shadow. A small difference in tone will do more than lots of frantic cross-hatching.
Know when to stop
The final skill is stopping while the drawing still has life in it. Put it at arm’s length or take a photo and look at it on a smaller screen. You will see quickly whether the main shape reads, whether the focal area is working and whether any dark mark is pulling attention away. If it feels unfinished, try one deliberate addition, then look again. You are allowed to make a study rather than a masterpiece. Small finished sketches are one of the best ways to develop judgement because you get to practise the whole journey: noticing, simplifying, choosing and stopping.
Ready to take the next step?
If you would like calm, individual guidance with drawing, I offer private art lessons in Teddington and the surrounding area, as well as online. We can work from the subjects and materials that genuinely interest you.