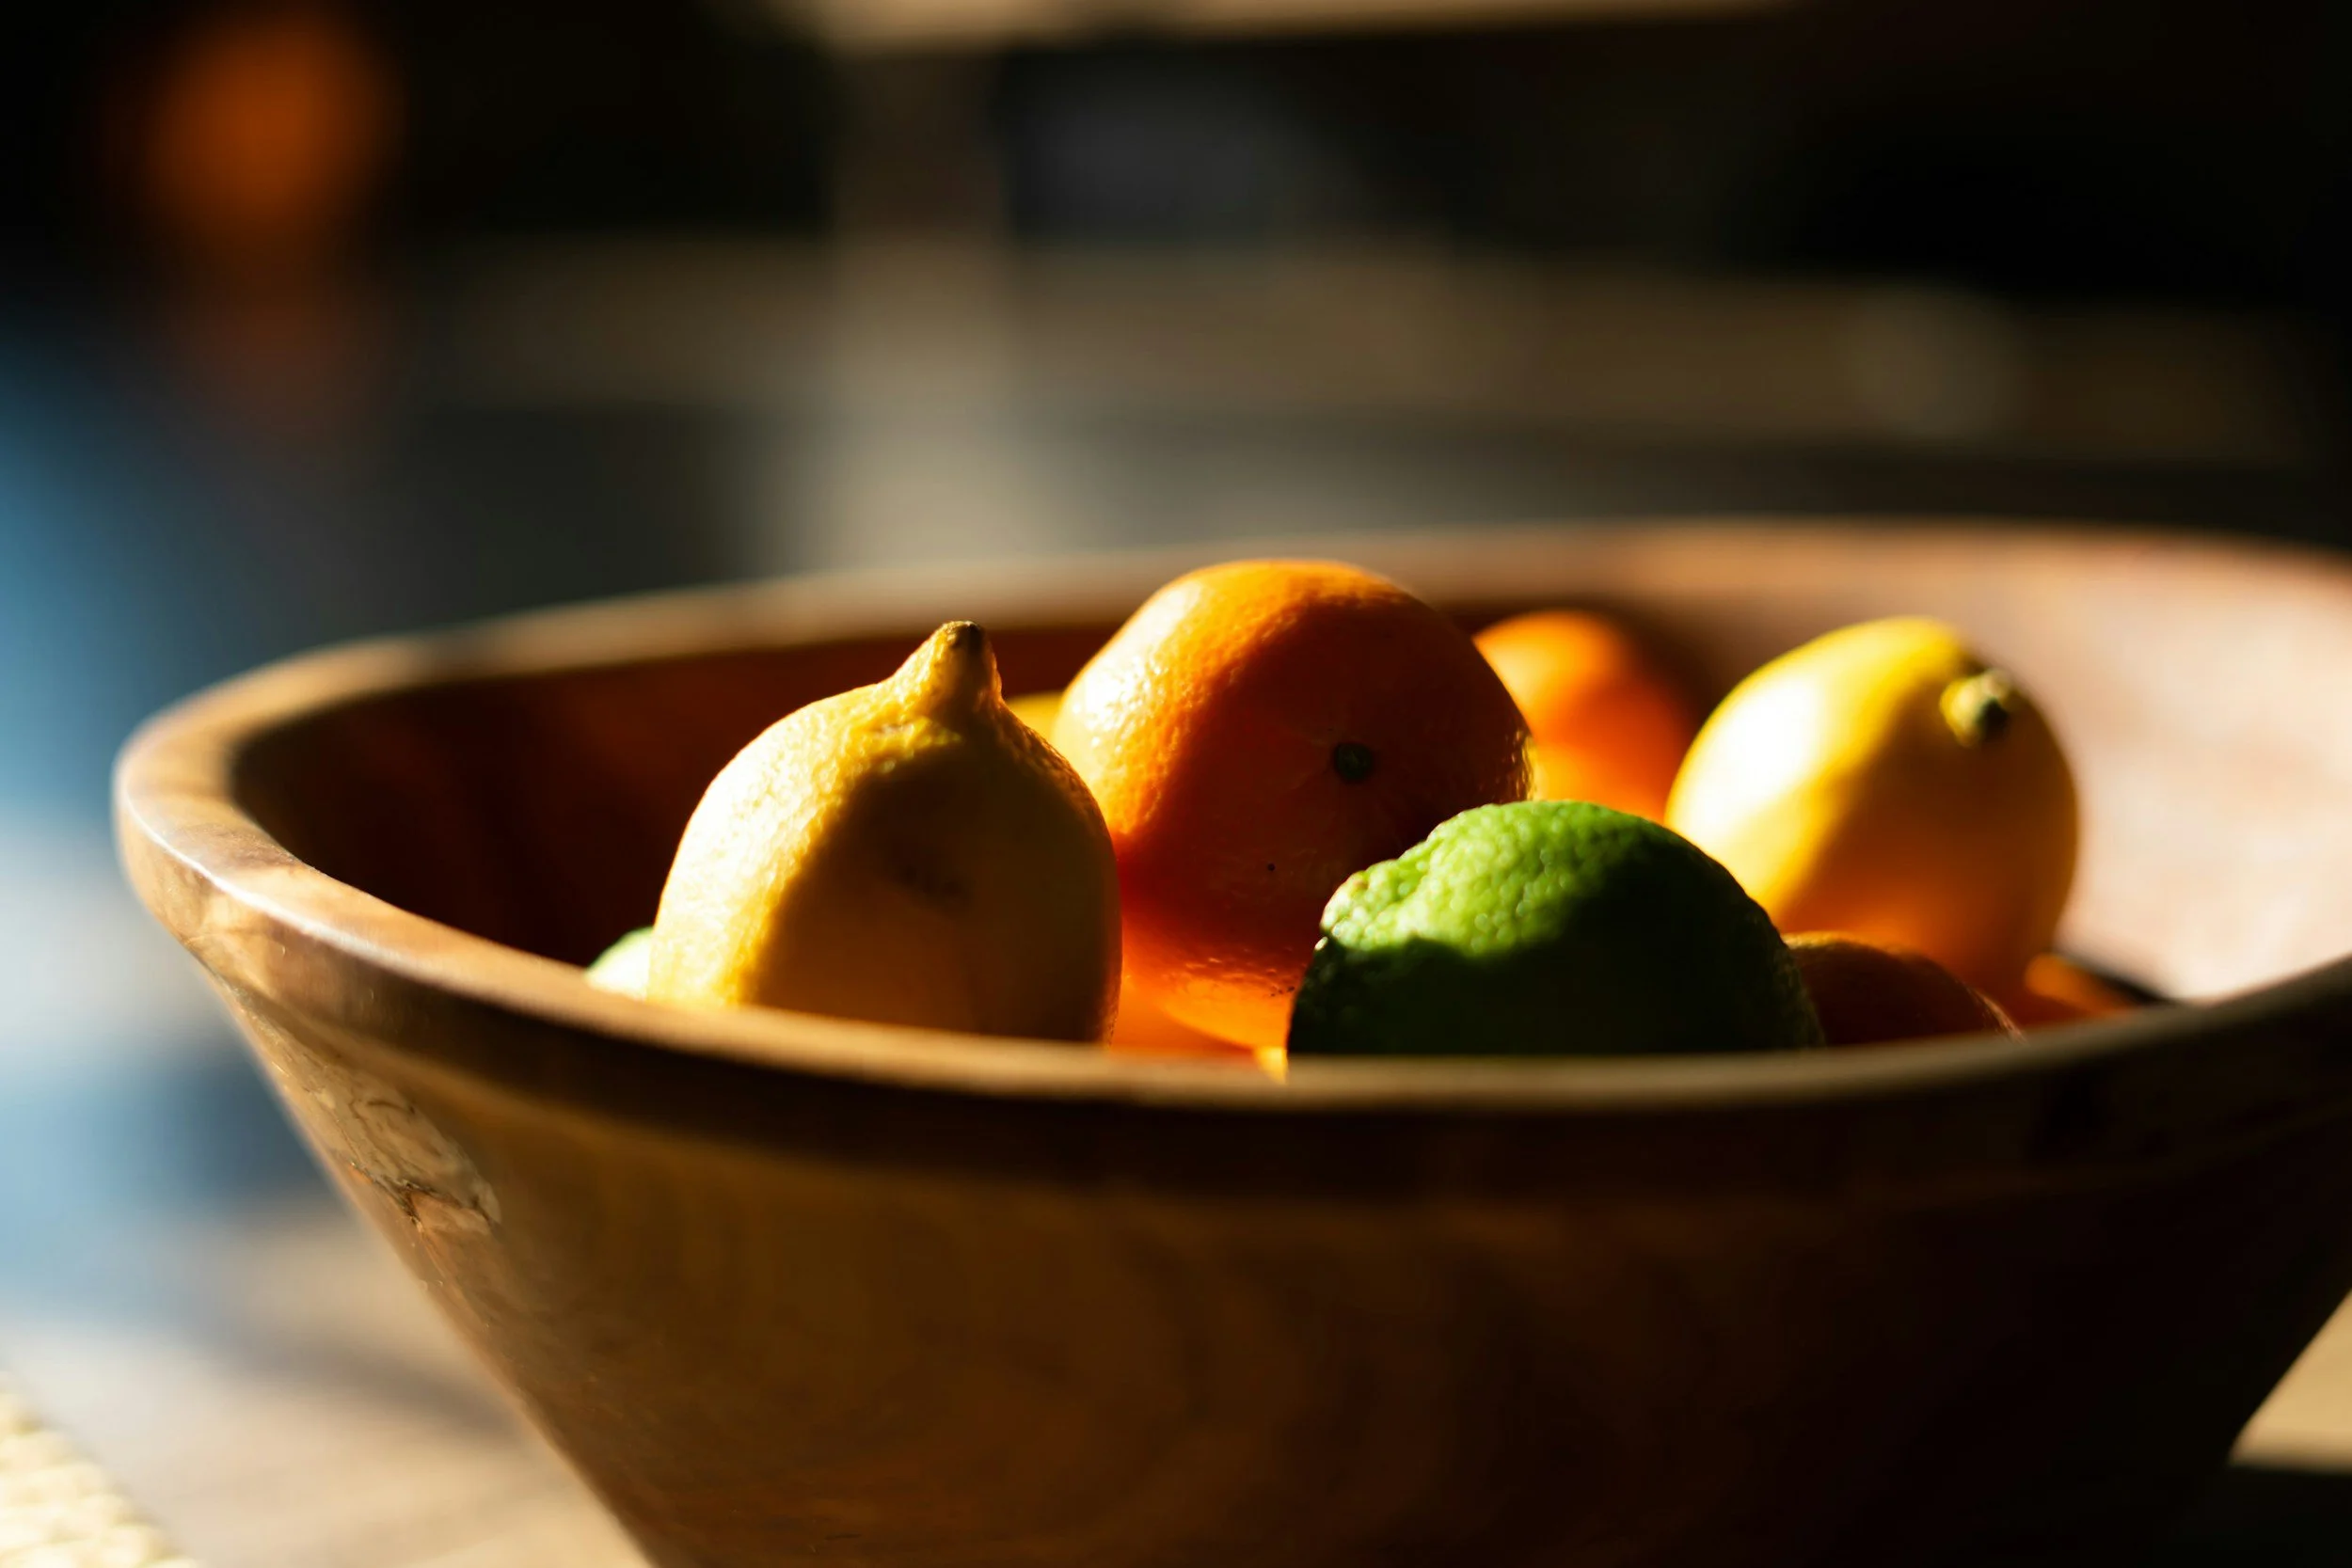
A still life can sound formal, but it simply means drawing objects that stay where you put them. That makes it one of the most useful exercises for a beginner. You can take your time, move the arrangement, change the light and return to the same subject without asking it to keep still.
Several objects are enough for a complete drawing. They create variety and overlap without making the page too complicated. The aim is to understand how the objects relate to one another, rather than produce a perfect copy of each item.
Choose objects with different shapes
Look around the kitchen or sitting room for three familiar objects. A mug, apple and small bottle work well because they offer a cylinder, a rounded shape and a taller form. Avoid choosing three objects of the same height or three highly patterned items for your first attempt.
The objects do not need to be beautiful. An ordinary arrangement can become interesting once you begin looking closely. A handle changes the space around a mug, a bottle catches light differently from an apple and a folded cloth can create a base that connects the group.
Arrange them as one group
Place the largest or tallest object first. Add the second so it overlaps part of the first, then position the third where it balances the group. Leave some gaps, but avoid spacing the objects evenly like items on a shelf.
Move them until the arrangement feels connected. Look at the overall silhouette. Is there one clear high point? Do the spaces between the objects vary? A small change in position can improve the composition before you make a single mark.
Use one clear light source
Side light from a window or desk lamp makes forms easier to read. It creates a light side, a shadow side and cast shadows on the surface beneath the objects. Turn off competing lamps if they create several confusing shadows.
You are not trying to produce dramatic studio lighting. You simply need enough difference to see the main planes and rounded forms. If the light changes during the session, take a quick reference photograph so you can remember the original pattern.
Decide the size on the page
Before drawing individual objects, imagine a box around the whole arrangement. Lightly mark the top, bottom, left and right limits. This prevents the common problem of drawing the first object too large and running out of space.
Check the width against the height of the group. If the arrangement is roughly twice as wide as it is tall, the drawing should carry the same relationship. These first marks are guides, so keep them light enough to adjust.
Find the largest simple shapes
Reduce each object to a basic form. The mug may begin as a rectangle with ellipses, the apple as a slightly uneven circle and the bottle as a tall rectangle that narrows towards the neck. Draw through the form lightly where it helps you understand the construction.
Do not add a logo, rim thickness or fruit stalk yet. Check where the objects overlap and how much of each form remains visible. The drawing will feel more convincing when these big relationships work, even before detail is added.
Compare rather than guess
Use one object as a measuring reference. Perhaps the bottle is about two and a half mug heights, or the apple is slightly wider than the mug’s base. Compare angles too: where does the top of the apple meet the side of the bottle, and how far below the bottle neck does the mug rim sit?
This is more reliable than drawing what you remember an apple or mug should look like. Keep looking from the arrangement to the page. Small corrections made now are easier than trying to disguise a proportion problem with shading later.
Draw the overlaps clearly
Overlap tells the viewer which object sits in front. Where the apple covers the mug, stop the mug’s edge rather than drawing a line through the apple. Where the bottle stands behind both, allow its lower edge to disappear.
Make these junctions deliberate. A confused overlap can flatten the whole group. It is often helpful to pause and trace the visible contour of each object with your eyes before strengthening any line.
Add the cast shadows
Cast shadows help anchor the objects to the table. Begin with their overall shapes and directions. A cast shadow is usually darkest close to the object and softer as it moves away, although the exact edge depends on the size and distance of the light source.
Keep checking the shadow as part of the composition. It can connect separate objects and stop them appearing to float. Avoid making every shadow equally dark; look for the lightest, middle and darkest areas across the whole drawing.
Build tone slowly
Choose one object and identify its light side, middle tone and shadow side, but keep comparing it with the rest of the group. A dark bottle may still contain a bright reflection. A pale mug may have a surprisingly dark interior or handle.
Use light layers and increase pressure gradually. Leave the brightest paper visible where you need a highlight. If you use several pencils, an HB for construction and a 2B or 4B for deeper tones is plenty. The drawing does not require a large set of materials.
Save details until the structure works
Once the arrangement, proportion and tone are secure, add selected details. The rim of the mug, the bottle label or the irregular edge of the apple can help identify the objects. Include the features that describe form and character, and leave out marks that make the page busy without adding information.
Step back from the drawing or view it in a mirror. The group should read clearly from a distance. If one object dominates because its outline is too dark, soften it. If two objects merge, strengthen the small tonal difference between them.
Let the first still life be a study
Your first arrangement is allowed to show changes and searching lines. It is a record of looking. Date the page and note what you would alter next time, such as using a simpler object, sitting slightly lower or making the group larger.
If you would like structured help with observational drawing, proportion, composition and tone, I offer private art lessons in Teddington, Richmond and across South West London, as well as online tuition throughout the UK. We can build a still life together and use it to focus on the skills that will help your own drawing most.
Equipment to use
Three simple household objects
Drawing paper or a sketchbook
HB pencil and a softer 2B or 4B pencil
Eraser and sharpener
A desk lamp if natural side light is not available
Ready to take the next step?
If you would like relaxed guidance with watercolour, drawing or coloured pencil, I offer private art lessons for adults in Teddington and South West London, as well as online. We can work at your pace and build a process that makes painting feel enjoyable rather than intimidating.