How to Draw Fur With Coloured Pencils: Start With Direction, Not Detail
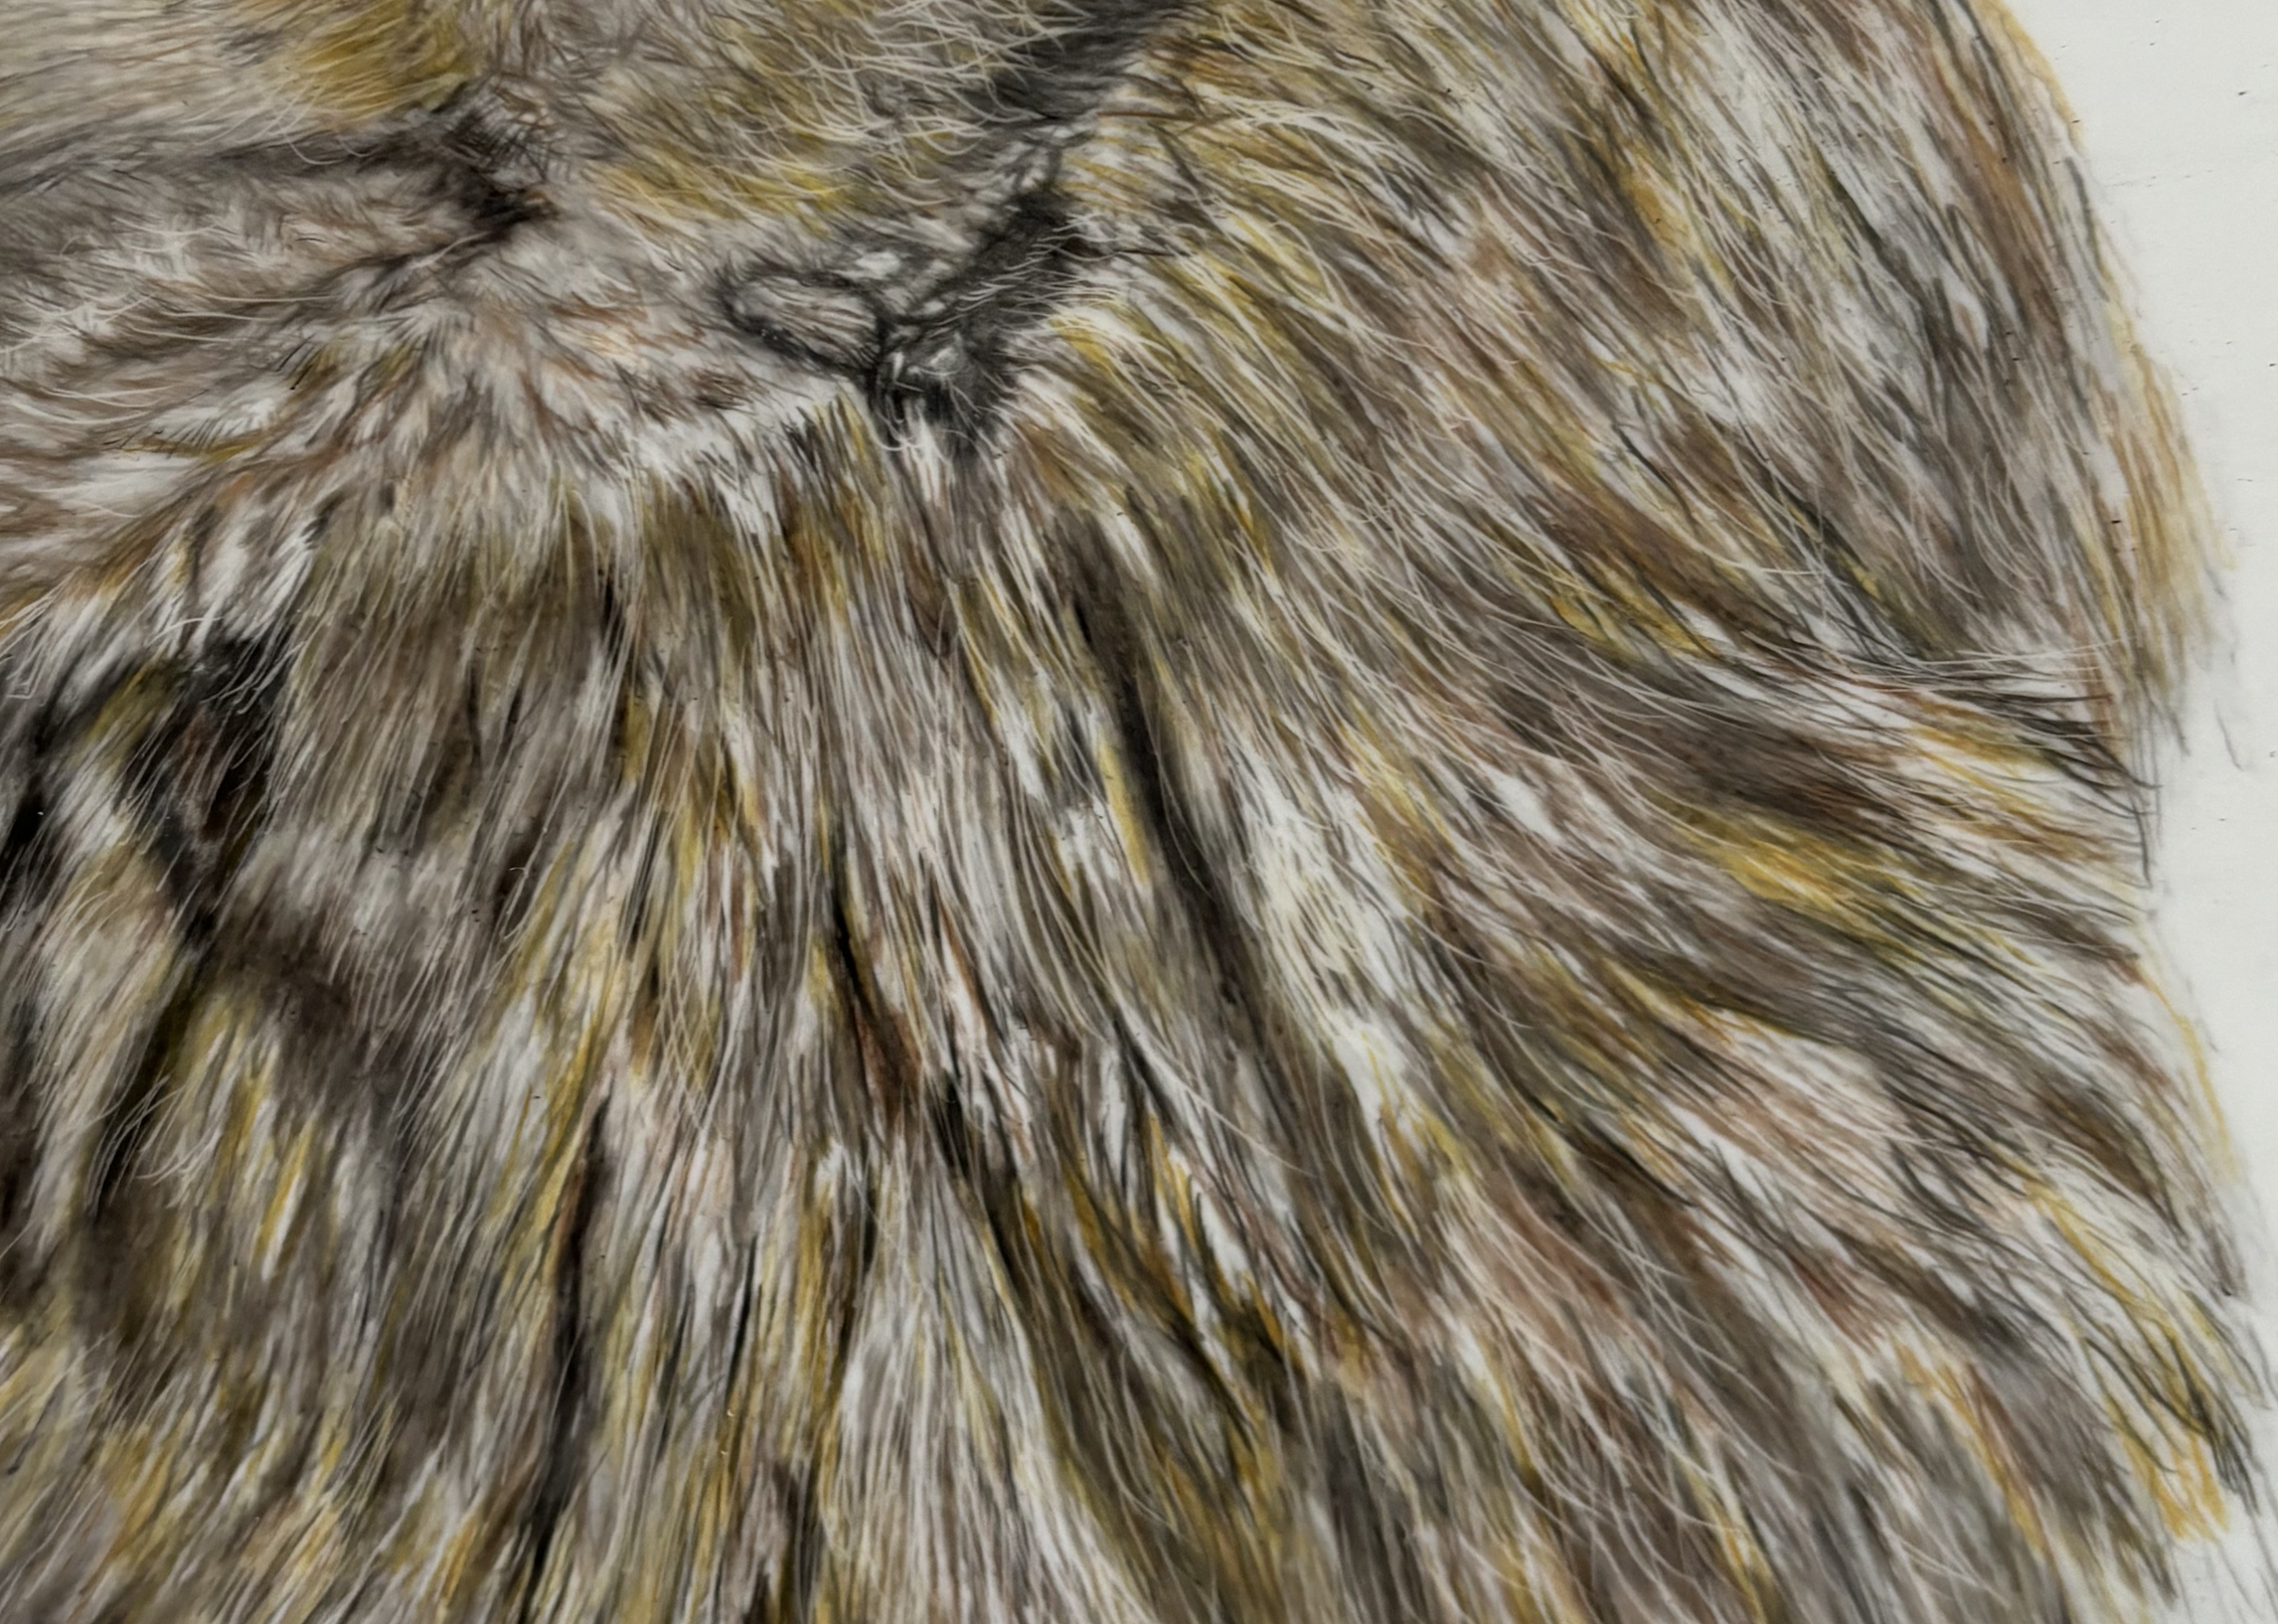
When people first try to draw fur, they often make the same understandable mistake: they start adding lots of individual hairs straight away. The result can become busy very quickly, but still not quite feel like fur.
The good news is that realistic texture does not begin with detail. It begins with observation. Before you draw a single hair, you need to notice the direction the fur grows, the light and dark shapes underneath it, and the areas where the texture changes.
Look for the larger shapes first
An owl’s face may contain short fur around the eyes, longer feathering on the ears and a smoother bridge of the nose. If you treat every area in the same way, the drawing can feel flat.
Start by lightly mapping the main tonal shapes. Where is the deepest shadow? Where does the light catch the fur? Which areas are warm, cool, dark or pale? This early layer gives the portrait structure before texture enters the picture.
Follow the direction of growth
Fur has a flow. For example, on a dog, around the muzzle it may radiate outwards; over the forehead it may sweep down; on an ear it may fall in a longer, softer direction. A few marks in the right direction will feel more convincing than dozens going the wrong way.
Try lightly drawing short guide arrows on a spare print-out of your reference photo. It sounds simple, but it helps you slow down and really look.
Build colour in patient layers
Coloured pencil is particularly good for fur because it allows you to build colour gradually. Begin with a light layer, then deepen shadows and add darker strands only where they are needed. Let some of the lighter paper or base layer remain visible rather than covering every part evenly.
For a brown or black dog, do not assume the fur is simply brown or black. You may see warm ochres, cool greys, soft creams and reflected colour from the surroundings. Those small shifts are what make a portrait feel alive.
Use contrast carefully
The sharpest detail usually belongs around the eyes, nose and the edges that matter most. Softer edges can sit on the cheeks or farther areas of fur. This contrast helps the viewer know where to look and stops the drawing becoming equally detailed everywhere.
A simple exercise to try
Choose a small cropped photo of your own pet, perhaps an ear or cheek rather than the whole face.
Spend five minutes identifying the direction of the fur and the largest light and dark areas.
Lay in tone first, working lightly.
Add a second and third layer following the growth direction.
Finish with only a few darker or lighter individual hairs where they will make the most difference.
This is a much calmer way to learn than trying to make a finished portrait immediately. It teaches you how texture works, one manageable section at a time.
Want some guidance?
This is exactly the kind of technique I enjoy breaking down in a private lesson. Whether you are completely new to coloured pencil or want to improve your pet portraits, we can work at your pace and focus on the parts you find most difficult.
I offer relaxed, supportive art lessons for adults and beginners, including drawing, coloured pencil and watercolour.
Lessons are tailored to your interests and experience, whether you want to build confidence, improve your observational skills or work towards a particular subject or project.
One-to-one and paired lessons are available in Teddington and the surrounding areas.